Updating payroll is a simple task, yet, it becomes complex because of the occurrence of errors like QuickBooks Error 15240. This error appears with the message, “Error 15240: The payroll update did not complete successfully.” Additionally, depending on the actual cause of the error, you can also get some other error messages like: “File Exists: The file you specified cannot be opened. Make sure that it is not being used by another program.” or “Internet connection error: unknown error.” The challenges in downloading and installing these updates may arise for several reasons. We will help you resolve this problem with detailed troubleshooting Methods for this error.
If you find it challenging to fix QuickBooks error 15240 after implementing the pro-recommended methods, we suggest you dial our toll-free number and connect with our pro-advisors. Our certified team will ensure the best resolution.
Table of Contents
Why does QuickBooks Error 15240 Arise?
Here are the in-depth reasons causing QuickBooks error 15240:
- Wrong mapping of the Shared Download Drive can trigger this problem.
- You’ll encounter this error if you have missing files or components significant for payroll updates.
- When your Windows files get corrupted, you see the error 15240.
- Blockages by antivirus and firewall settings may restrict payroll updates in QB Desktop.
- If you have disabled File Copy Services (FCS), the error 15240 may arise.
- Challenges in verifying digital signatures may cause this error.
- When your Internet Explorer settings are misconfigured, the error 15240 may occur.
Pre-Consideration: Firewall & Security Settings Configuration
Before you resolve the QuickBooks 2023 error 15240, you need to re-arrange the firewall and security settings and ensure they cause no blockages.
Step 1: Get QuickBooks Tool Hub
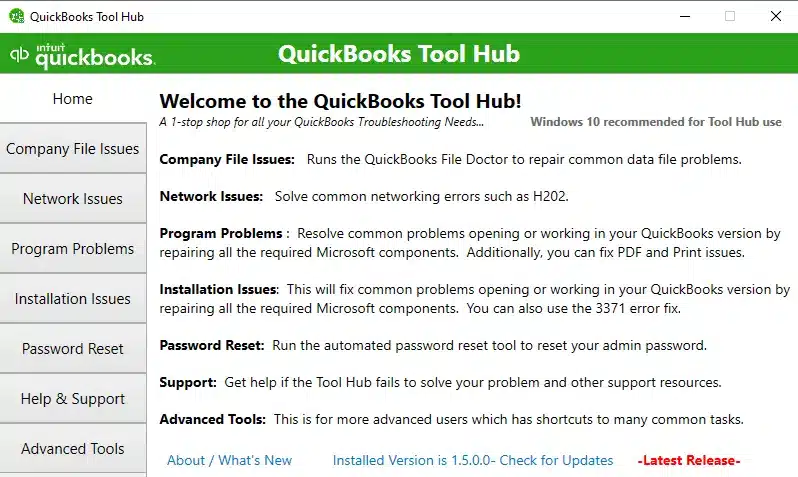
Initiate the installation of the QuickBooks Tool Hub, a purpose-built tool for resolving common errors. Achieve optimal performance by closing QuickBooks and running the tool hub on a Windows 10, 64-bit system.
- Close QuickBooks by tapping File > Exit.
- Get the latest QuickBooks Tool Hub version on your system and save the file in a readily accessible location.
- Access the downloaded QuickBooksToolHub.exe file.
- Follow the InstallShield instructions for successful installation and accept the License Agreement.
- Once installed, double-click the tool hub icon to access it.
Note: If the icon does not appear on the Windows desktop, search for “QuickBooks Tool Hub” in Windows and select the program.
Recommended to read : Why QBDBMgrN Not Running After Update 2024
Step 2: Get Help from QuickBooks File Doctor
Navigate to the Company File Issues tab in the QuickBooks Tool Hub and follow these steps:
- Hit Run QuickBooks File Doctor. Allow up to a minute for the file doctor to open. If inaccessible, manually browse “QuickBooks Desktop File Doc” and open it.
- In QuickBooks File Doctor, tap your company file from the dropdown list. If not visible, select Browse to locate your file.
- Tap Check your file and network, then Continue.
- Input QB admin password and select Next.
- The scanning time is based on your file size, typically taking up to 5 minutes. After the scan, open QuickBooks and your company file. The scan may indicate being unsuccessful, even if it fixes your issue.
- If errors persist or you can’t open your company file, proceed with the next step.
Step 3: Configure Firewall Manually
If QuickBooks File Doctor fails to address firewall issues, perform manual configurations.
Adding a Firewall Port Exception for QuickBooks:
- Access the Windows Start section.
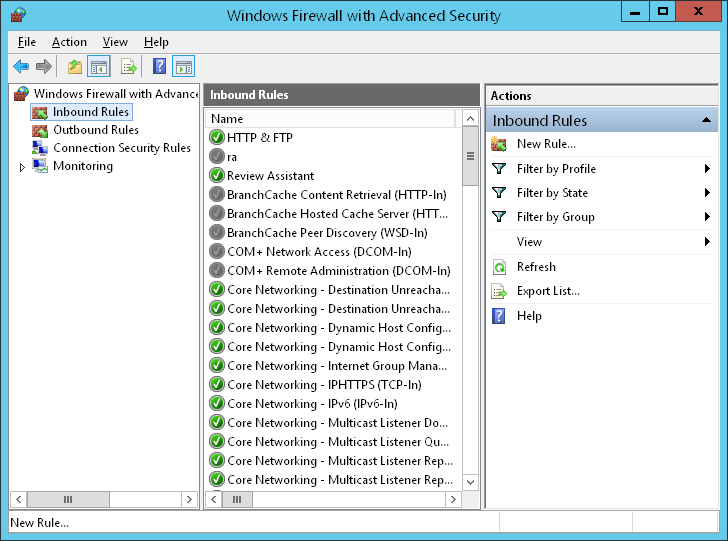
- Search and open “Windows Firewall” and select Advanced Settings.
- Right-click Inbound Rules and hit New Rule.
- Click Port, then Next.
- Choose TCP.
- Get to the Specific local ports field and input the necessary ports for your QuickBooks program version.
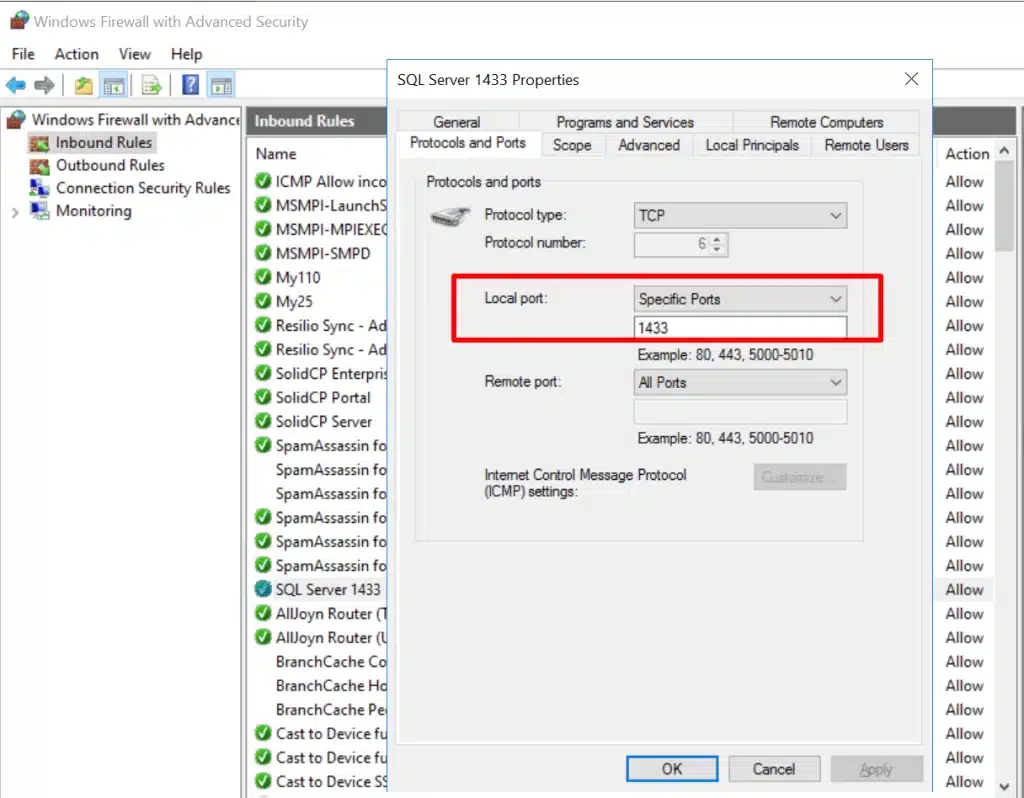
- Tap Next after entering the port number.
- Choose the Allow the Connection option, then hit Next.
- Mark all profiles when it requests you. Click Next.
- Name this rule and click Finish.
Creating Windows Firewall Exceptions for QuickBooks Programs:
- Access the Windows Start section.
- Search and access “Windows Firewall.”
- Select Advanced Settings, right-click Inbound Rules, and click New Rule.
- Choose Program and then Next.
- Select This Program Path and Browse.
- Browse and select the executable file. Click Next.
- Tap Allow the Connection, then the Next option.
- Mark all profiles and hit Next.
- Name the rule and hit Finish.
- Do these steps for outbound rules, selecting Outbound Rules in the 4th point.
Read Also : I am getting QuickBooks Error 400
Troubleshooting QuickBooks Error 15240
Here are our pro-recommended solutions when you are getting QuickBooks error 15240:
Method 1: Get Windows Admin Rights to Facilitate Update Installation
Getting Windows admin rights can resolve QuickBooks error 15107. Follow these steps:
- Close the company files and QuickBooks Desktop.
- Right-click the QB Desktop icon and tap “Run as administrator.”
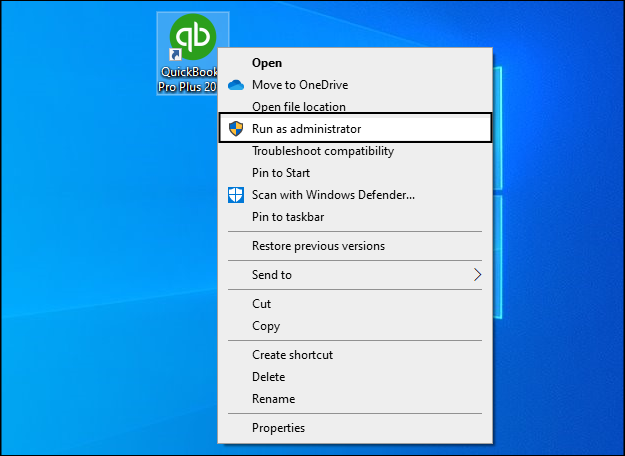
- If the “Do you want to allow this program to make changes to your computer?” wizard appears, tap Yes.
- Execute the QuickBooks Desktop update steps:
- Click on Help within QB.
- Choose Update QuickBooks Desktop, then select Update Now.
- Hit Get Updates.
- Close and reopen QB Desktop to implement the updates.
- Proceed with QuickBooks Payroll tax table updates:
- Click on Employees, then Get Payroll Updates.
- Choose the Download Entire Update option.
- Click Update and allow the successful download of the update.
Method 2: Run QuickBooks Tool Hub Utilities
QuickBooks Tool Hub offers two excellent utilities to resolve the QuickBooks update error 15240. Here’s how to use them:
- Download and launch QuickBooks Tool Hub.
- Go to Program Problems and use the Quick Fix My Program tool to fix performance-related issues in the app.
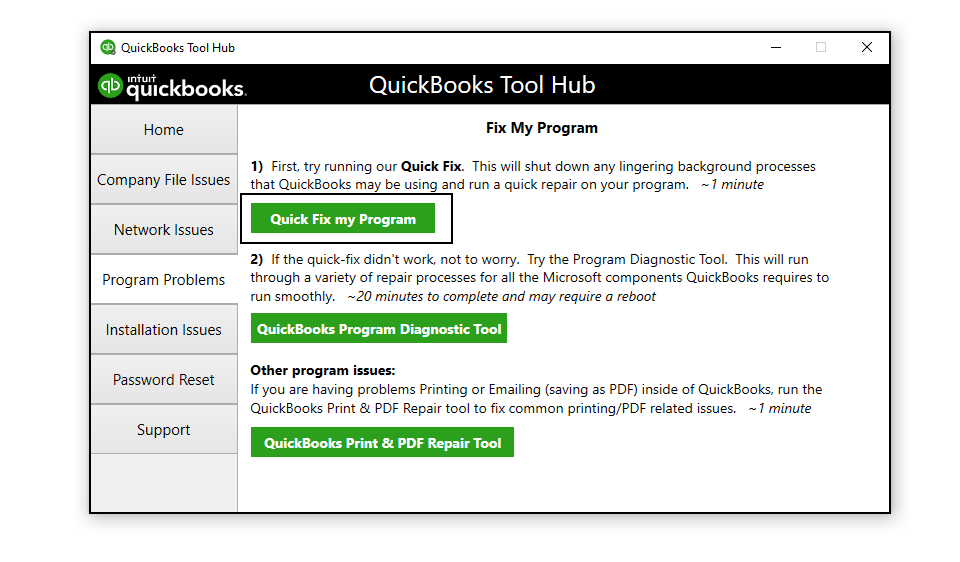
- Once this scan is over, try running the updates and check the error 15240. If the issue persists, follow the steps below.
- Close QuickBooks Desktop.
- Move to the C:\ProgramData\Intuit\QuickBooks XX\Components folder.
- Right-click Components and hit Delete.
- Open QuickBooks Desktop. Visit Help, then select Update QuickBooks Desktop.
- Click Update Now and checkmark the Reset Update checkbox.
- Click Get Updates. Once the download ends, close and re-access QuickBooks Desktop.
Now, if you still want to resolve installation problems, try the following actions:
- Go to Installation Issues in QuickBooks Tool Hub.
- Tap QuickBooks Install Diagnostic Tool.
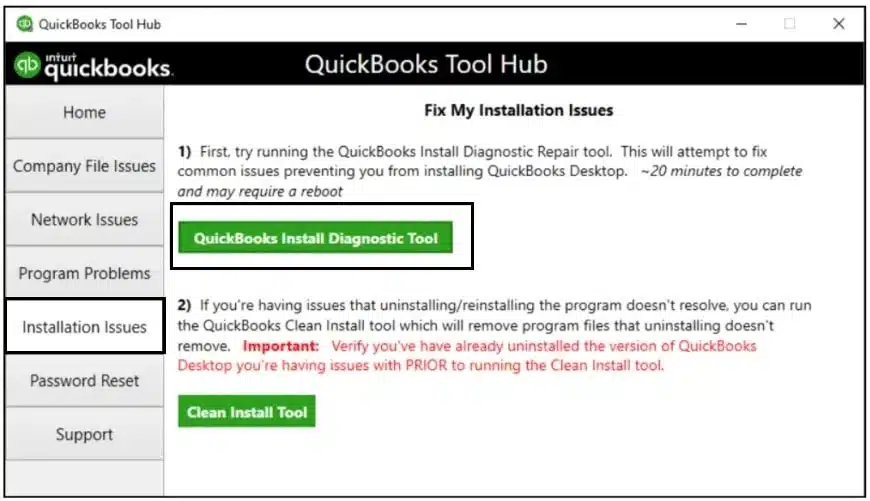
- Start scanning and rectifying the installation problems causing the error 15240.
Method 3: Update Windows Permissions
If your Windows permissions aren’t updated, update them to resolve QuickBooks Desktop error 15240:
- Open the Start menu in Windows.
- Enter “File Explorer” into search and access it.
- Locate your QuickBooks program file using the following paths:
- For 32-bit: C:\program files\intuit\quickbooks (year)
- For 64-bit: C:\program files x86\intuit\quickbooks (year)
- Right-click the QuickBooks program file (QBW32.EXE) and choose Properties.
- Click Security, then Edit.
- Choose Add. Type “Everyone” in the window and click OK.
- Check the box for Full control in the Security window and then click OK.
- Re-select Add. Type “Users” in the window and click OK.
- Check the box for Full control in the Security window, then click OK.
- When ready, click Apply and OK to close the settings.
Recommended to read : What is QuickBooks Payroll Error PS038
Method 4: Ensure Correct Date and Time
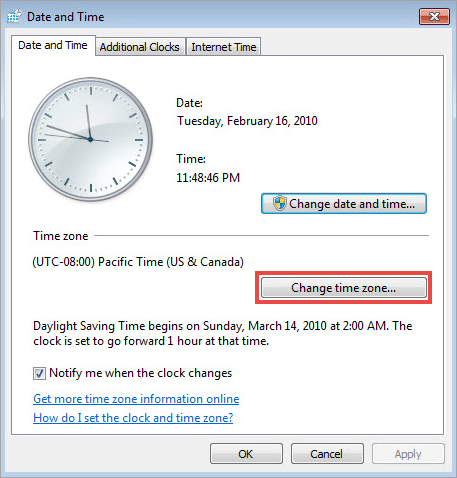
Your date and time properties should be accurate while updating QuickBooks so it won’t cause the QB error 15240:
- Click Start, then Settings.
- Choose Time and Language.
- Now, arrange your settings for accuracy.
Method 5: Get a Digital Signature Certificate
Follow these steps to install a new digital signature certificate and resolve the QuickBooks error code 15240:
- Navigate to C:\Program Files\Intuit\QuickBooks on your device.
- Right-click QBW32.exe and hit Properties.
- Choose Digital Signature and make sure Intuit is in the signature list.
- Tap Details.
- Hit View Certificate in the Digital Signature Details window.
- Select Install Certificate within the Certificate window.
- Proceed by clicking Next until Finish is displayed, then click Finish.
- Restart your computer.
- Open QuickBooks and proceed to redownload the update.
Method 6: Configure Microsoft Internet Explorer Settings
If your Internet Explorer settings are misconfigured, you’ll have to resolve them to fix the QuickBooks error message 15240:
- Ensure Internet Explorer is up-to-date.
- Your default browser should be Internet Explorer, and you can make it as follows:
- Launch Internet Explorer.
- Access the Gear icon in the upper-right corner (or click Tools).
- Choose Internet Options. Then, go to the Programs tab.
- In the Default Web Browser section, hit the Make Default button.
- Click OK.
- Erase your browser’s cache and cookies.
- Make Intuit a trusted site in Internet Explorer.
You may read also : How to fix QuickBooks Error Code 19062 00238
Method 7: Reinstall QuickBooks
Remove and reinstall QB to resolve the QuickBooks error 15240. Before Initiating the Procedure:
- Get the installer suitable for your QuickBooks version.
- Keep your license number easily accessible, located on the original package or in the purchase confirmation email for online purchases.
Note: You can retrieve this information from your account management portal.
Step 1: Remove QuickBooks
- Open the Windows Start menu and navigate to “Control Panel,” then open the Control Panel.
- Select “Programs and Features,” then tap “Uninstall a Program.” (Choose the appropriate option based on your Windows OS.)
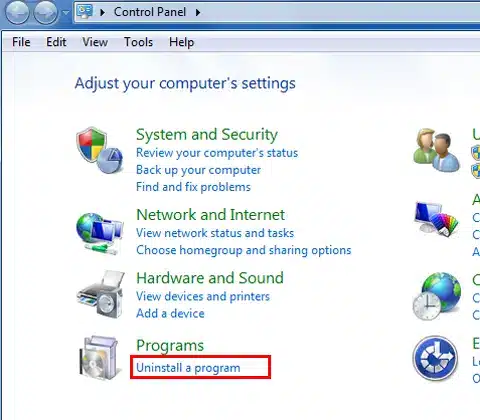
- Locate QuickBooks Desktop in the program list you intend to uninstall.
- Click “Uninstall/Change,” choose “Remove,” and then hit “Next.”
- If this option is not visible, log out and log back into Windows as an administrator (or a user with admin rights).
Step 2: Install QuickBooks Desktop
Following the uninstallation, proceed with the reinstallation of QuickBooks Desktop. Throughout the reinstallation, QuickBooks will automatically create new folders and rename the existing ones.
Conclusion
We hope our in-depth guide for QuickBooks Error 15240 resolves your issues and ensures the updates go smoothly. However, if you constantly encounter hassles in this process, we request you call our toll-free number and let our dedicated experts take over the situation. We’ll ensure you get rid of this problem swiftly and don’t get stuck because of it.
FAQs
What do I do if disabled File Copy Services causes QuickBooks error 15240?
If you need to enable QuickBooks File Copy Services to resolve the error 15240, follow the steps below:
1. Press Windows + R for the Run window to open.
2. Enter COMPMGMT.MSC in the Run command and click OK.
3. The Computer Management Window will open; proceed to select Services and Applications.
4. Tick on Services.
5. Scroll down until you locate Intuit QuickBooks FCS, then double-click on it.
6. Click on Startup type and hit Manual.
7. Click Apply.
8. Press OK.
What to do if the shared download drive is mapped incorrectly and causes QuickBooks error 15240?
If QuickBooks error 15240 arises due to an inaccurately mapped shared download drive, you can repair QB through the Install Diagnostic tool, Quick Fix My Program, or reinstall the app.
Where can I find the QuickBooks Desktop tool hub to resolve the error 15240?
If you wish to find the QuickBooks Tool Hub file, tap the link dropdown and verify the path through Show in Folder. If this is not ideal, you can open File Explorer and tap the Downloads folder to locate the QuickBooksToolHub.exe file.
How do I resolve QuickBooks error 15240?
You can resolve QB error 15240 through the following solutions:
1. Run QB updates as an admin.
2. Use Quick Fix My Program, and QB Install Diagnostic Tool.
3. Add Windows Permissions to QB installation folders.
4. Install a new digital signature certificate
5. Get your firewall and antivirus settings configured
6. Correct date and time on the system
7. Ensure appropriate Internet Explorer settings.
8. Reinstall QB

Erica Watson is writing about accounting and bookkeeping for over 7+ years, making even the difficult technical topics easy to understand. She is skilled at creating content about popular accounting and tax softwares such as QuickBooks, Sage, Xero, Quicken, etc. Erica’s knowledge of such softwares allows her to create articles and guides that are both informative and easy to follow. Her writing builds trust with readers, thanks to her ability to explain things clearly while showing a real understanding of the industry.