QuickBooks is a widely used accounting application particularly used by small and medium-scale businesses. It is well-known for making complex accounting processes easier for its users. You can perform QuickBooks record deposit without invoice through various methods. In this article, we have discussed these methods, and it’s other related aspects.
“If you are trying to perform QuickBooks record deposit without invoice, you may come across operational issues. You can contact Proadvisor solutions’ Support at 1.855.888.3080 and talk to certified ProAdvisors for resolution”
You may also see: How to find QuickBooks validation code in registry
Table of Contents
How can you Record Deposit without Applying an Invoice?
QuickBooks users are required to reconcile their accounts at the end of every month. It ensures the good health of their books, and recording deposits is its crucial component. Follow these steps to record deposit without applying an invoice:
- Click on the ‘Banking’ menu in your QuickBooks window and then select the ‘Record Deposits/Make Deposits’ option.

- Click on the ‘Deposit to’ button in the new window, and select the bank account where the payment was deposited.
- Fill in the ‘Date’ for the transaction.
- If ‘Memo’ is required, you can add that too.
- The deposit can be fragmented into multiple payments as per need.
- Click on the ‘Save & Close’ button to finalize the process.
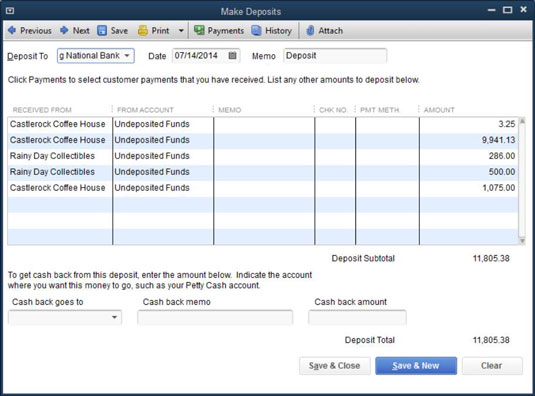
The steps mentioned above helps you perform QuickBooks record deposit without invoice. You can record a deposit in your bank account based on the payment received in cash. You are not required to attach the invoice along in this process.
Fix Deposits not Showing Un-deposited Funds in QuickBooks Issue
If you have performed a QuickBooks record deposit without invoice, several issues may occur. Deposits not showing un-deposited funds in QuickBooks issue is pretty predominant. If you are getting such issues, follow the steps below to fix them:
- If you use the multi-currency function, make sure to set up the Currency field accurately.
- You should choose the correct location or ‘All locations’ when prompted.
- You can access the account in private mode to review your deposit.
- Delete the browsing history and the cache memory from your Web browser.
- Check for the sales receipt regarding the account.
- If it doesn’t work, use a different browser that you don’t normally use to operate QuickBooks.
The above steps are helpful in resolving issues that occurred after recording deposits without invoice in QuickBooks.
Steps for Performing QuickBooks Record Deposit without Invoice
There are primarily two ways to perform QuickBooks record deposit without invoice. It can be done by manually recording the deposit or using the sales receipt. The method to be used depends on the mode of operation of your business. It also depends on the information that you seek back from QuickBooks. If you are a local vendor, you may not need to record every transaction. You are mostly concerned with the earning at the end of the day. However, if you are in services like repairing, coaching, etc., you might be interested in further details. It specifies your association, due amounts, and other such details. We have mentioned below the steps to register through both ways:
Method 1: Manual Recording of Deposit
Follow the steps below for a manual recording of deposit in QuickBooks Online:
- Click on the ‘Create’ button on the top-left corner of the QuickBooks window.
- Select the ‘Bank Deposit’ option from the ‘Other’ column.
- Select the account in which you have to make the deposit.

- Enter the date of deposit and then go to the ‘Add funds to this deposit’ section.
- you can select the same entity in both the ‘Received from’ and ‘Account’ fields.
- Select cash in the ‘Payment Method’ and then enter the amount.
- Click on the ‘Save and Close’ button to save the changes.
Method 2: Using the Sales Receipt
If you want to use the method of sales receipt to perform QuickBooks record deposit without Invoice, the steps are as follows:
- Place your mouse cursor on the ‘+New’ button on the top-left corner of the QuickBooks window.
- Select the ‘Sales Receipt’ option from the ‘Customers’ section.

- Choose the method of payment and the account where you are depositing the money.
- You can choose a product or service to mention what you sell.
- Select the ‘Save’ button and then click on ‘Save and Close.’
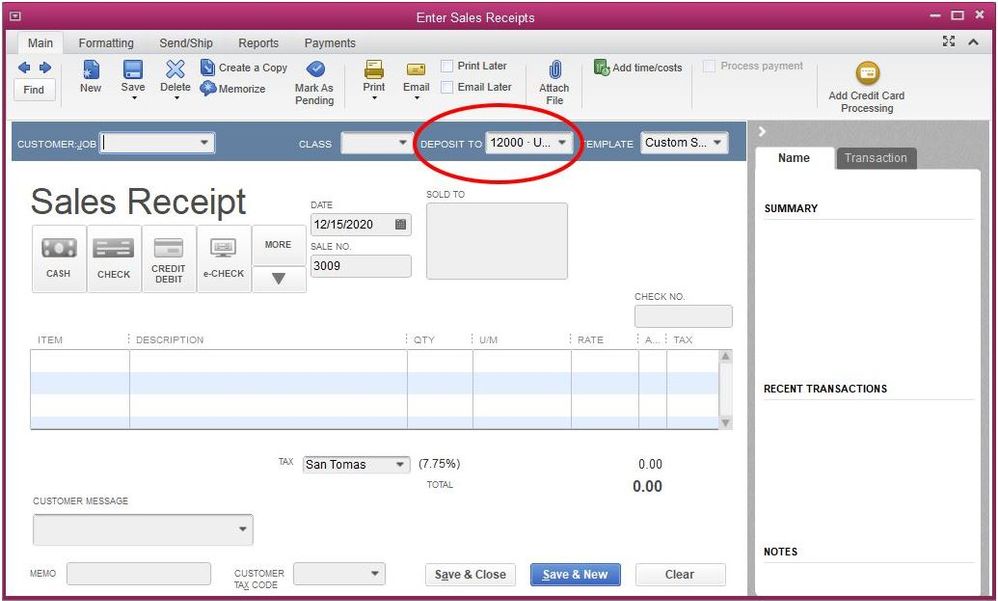
By creating a sales receipt, you can view a customer in QuickBooks and see all the details.
QuickBooks Desktop Record Deposit without having an Invoice
Usually, you receive payments from multiple sources and then make a deposit to your bank account all at once. Thus, all these amounts are recorded in the bank account as one. You would need to perform QuickBooks Desktop record deposit without having an Invoice. You can hold customer payments in QuickBooks in the Undeposited Funds account till you deposit it in a bank account. You can use the deposit slip then to combine all these payments into a single entry. Follow the steps below to make entries for QuickBooks Record Deposit without Invoice:
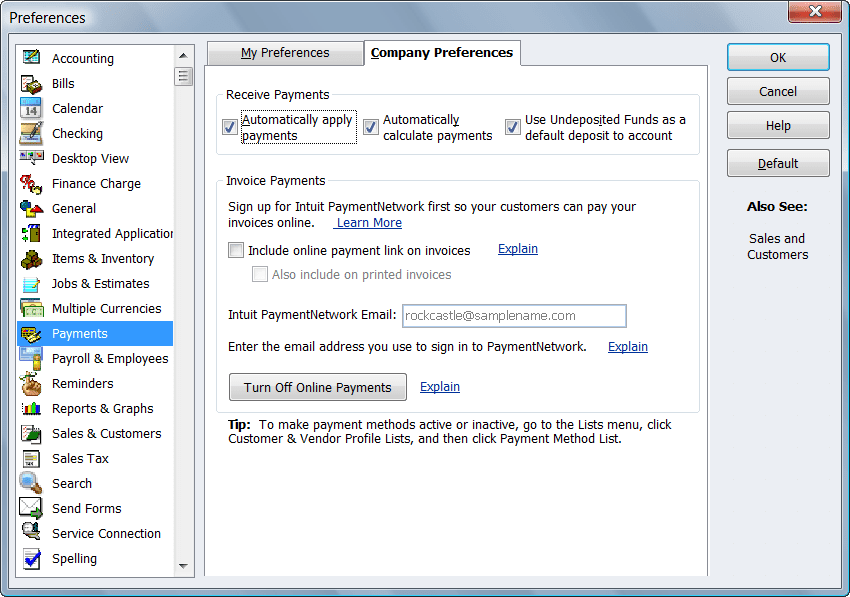
- Click on the ‘Edit’ menu and then go to ‘Preferences.’
- From the list of options, choose ‘Payments’ and then click on ‘Company Preferences’ tab.
- Select to mark the checkbox saying ‘Use Undeposited Funds as a default deposit to account.’

- Press the ‘OK’ button to save the preferences.
- You will have to select ‘Undeposited Funds’ when you create a Sales Receipt next time.
- Click on ‘Save & Close’ button or the ‘Save & New’ as required.
Steps if you want to Remove some Payment from the Bank Deposit
You may have added a payment into your bank deposit mistakenly. You will need to remove the erroneous payments from the deposit account. It might also be required for other reasons. If you need to do it, the steps are as follows:
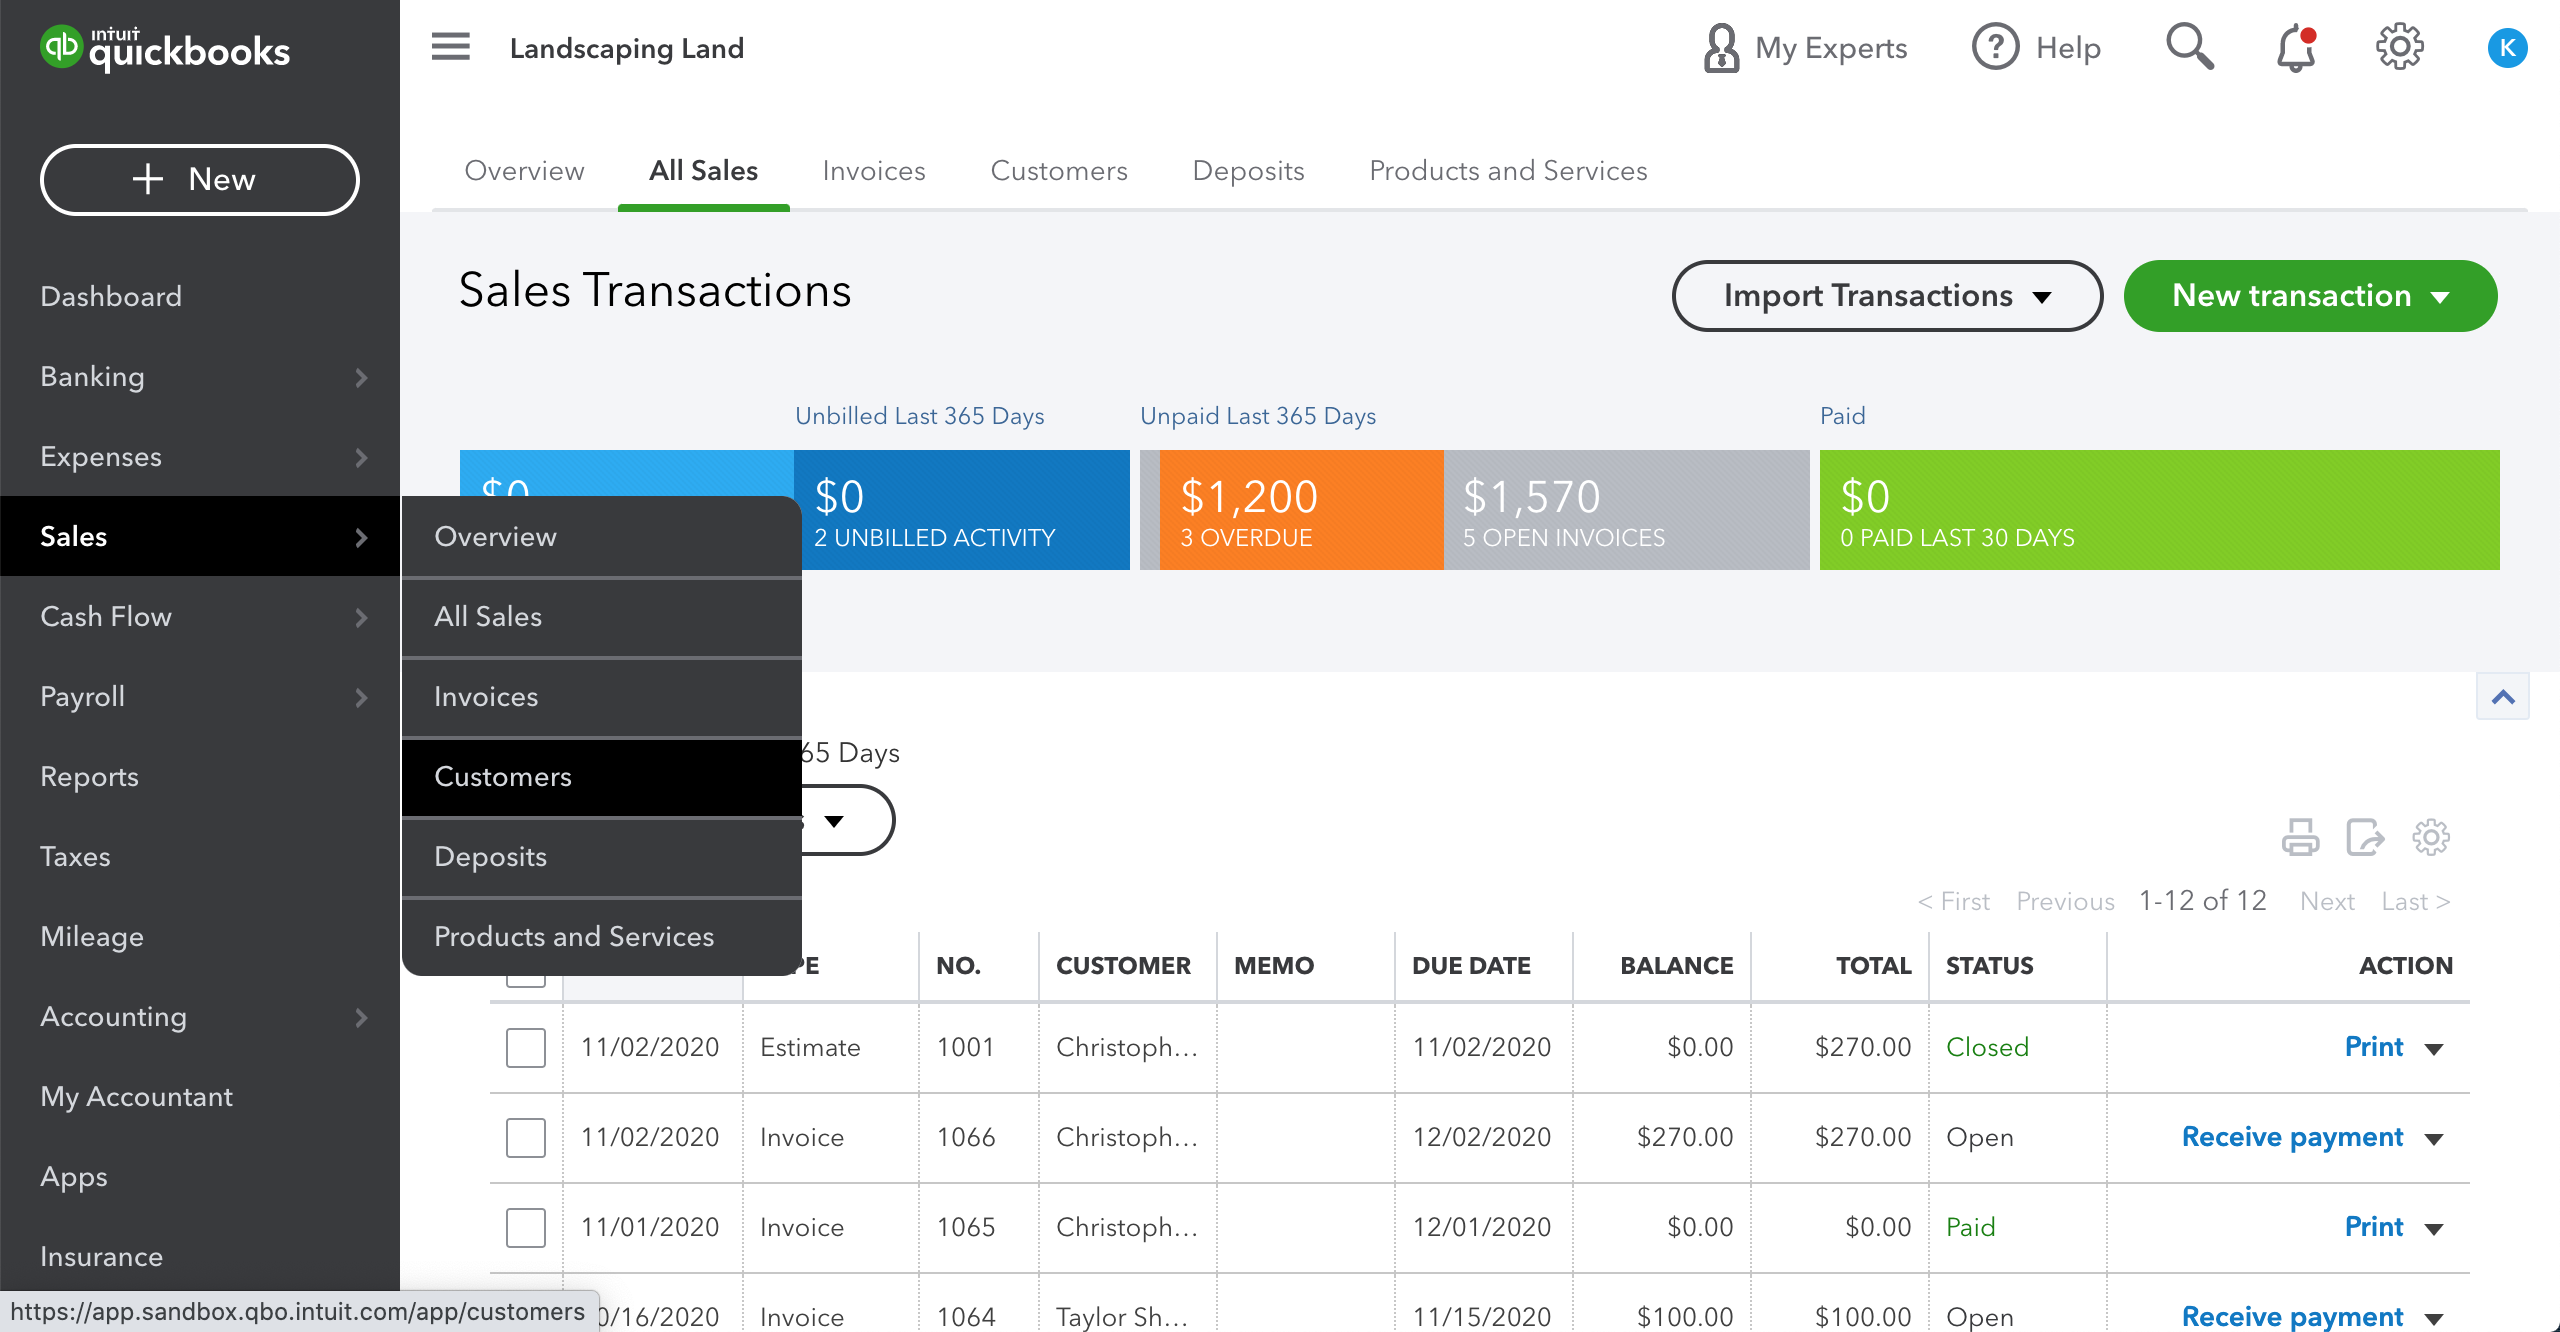
- Go to the ‘Sales’ menu in your QuickBooks window and then select ‘All Sales.’
- Search for the payment that’s needed to be removed and open it.
- Make sure that the status shows ‘Closed.’

- You’ll find the button of ‘date link’ beside customer’s name to open the bank deposit.
- Unmark the box for the payment that has to be removed.
- Press the ‘Save and new’ or the ‘Save and Close’ button as required to complete the process.
How can you Delete a Bank Deposit in QuickBooks?
You may need to delete a bank deposit if you have entered incorrect entries into your account. The method will also help you if you have to start over. The steps are as follows:
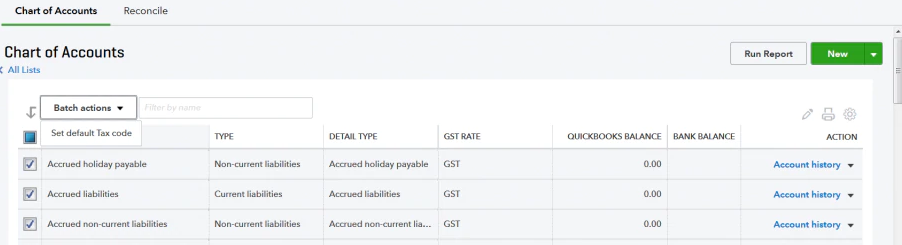
- Open QuickBooks and reach its ‘Accounting’ menu.
- Click on the ‘Chart of Accounts’ option.
- Search your bank account that has the deposit and then click on its ‘Account history.’

- Find the bank deposit and then select it for further details.
- Click on the ‘Delete’ button to complete the process.
The payments made into this deposit return to the Undeposited Funds Account on deleting. Now, you can create a new deposit as mentioned in the methods above.
You may also read: How to Reset QuickBooks Registration
Through this article, we looked at the comprehensive process to perform QuickBooks record deposit without invoice. We discussed its different methods and other related aspects. You may still come across issues while performing the process and need an expert’s help. You can contact Proadvisor Solutions Customer Support at 1.855.888.3080 and take help from our ProAdvisors.

Erica Watson is writing about accounting and bookkeeping for over 7+ years, making even the difficult technical topics easy to understand. She is skilled at creating content about popular accounting and tax softwares such as QuickBooks, Sage, Xero, Quicken, etc. Erica’s knowledge of such softwares allows her to create articles and guides that are both informative and easy to follow. Her writing builds trust with readers, thanks to her ability to explain things clearly while showing a real understanding of the industry.