QuickBooks provides a wide range of tools and features for small and medium-sized businesses. One such feature is the multi-user mode, which enables multiple users to work on your files together. If you install QuickBooks on a terminal server, then multiple users can work on the file simultaneously and you can easily manage your accounts centrally. Through this article, we will take you through the detailed procedure to install QuickBooks on a terminal server, and we will also explain to you the other aspects related to it.
“If you are facing any issues while trying to install QuickBooks on a terminal server and you need assistance from an expert, then contact ProAdvisor Solutions’Support at 1.855.888.3080”
You may also see: QuickBooks 1099 Wizard
Table of Contents
Benefits of Installing QuickBooks on a Terminal Server
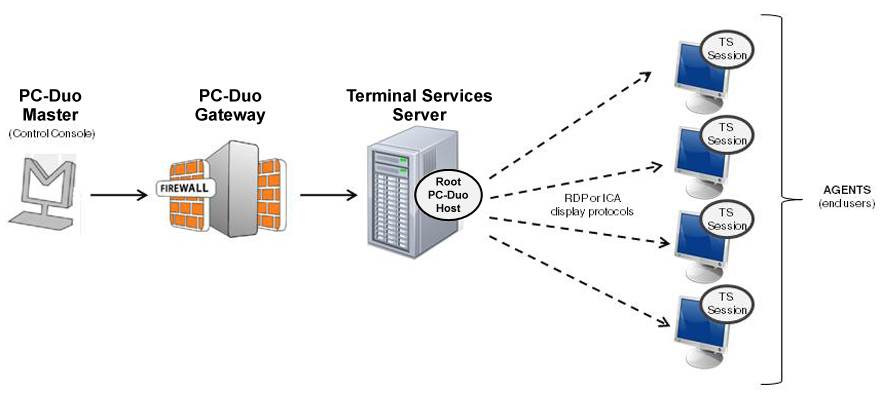
- Enterprises can centrally host applications and provide them to remote devices through a terminal server.
- Multiple clients can connect to a LAN network through a terminal server network.

- It does not require a modem or a network interface to connect and provides benefits such as managing the overall infrastructure centrally.
- It also reduces the licensing cost, and you can also update the programs centrally without having to update it individually on all the workstations.
- Through terminal server, you can install QuickBooks Desktop on a central server instead of individual computers.
- Multiple users can access the company file remotely after getting connected to the server.
- It also saves hard disk space on individual systems.
System Specifications Required for QuickBooks on Terminal Server
There are some minimum system specifications requirements for installing QuickBooks on terminal server. These have been mentioned below for you:
Operating System Requirements:
- Windows
10,8.1, or 7 all editions 64-bit, natively installed. - Windows
Server 2016, 2012 R2. - The
Standard & Essentials variants of Windows Server 2011. - Mac OS
10.12 and above versions are supported on Mac-based systems.
QuickBooks run smoothly on these operating systems. These Operating systems should be natively installed, which means that it should be installed on a particular system that it was designed for and should not run in a virtual environment or using an emulation software. Microsoft has stopped providing support and security updates for the previous versions of these Operating systems such as Windows 7 and Windows server 2008. 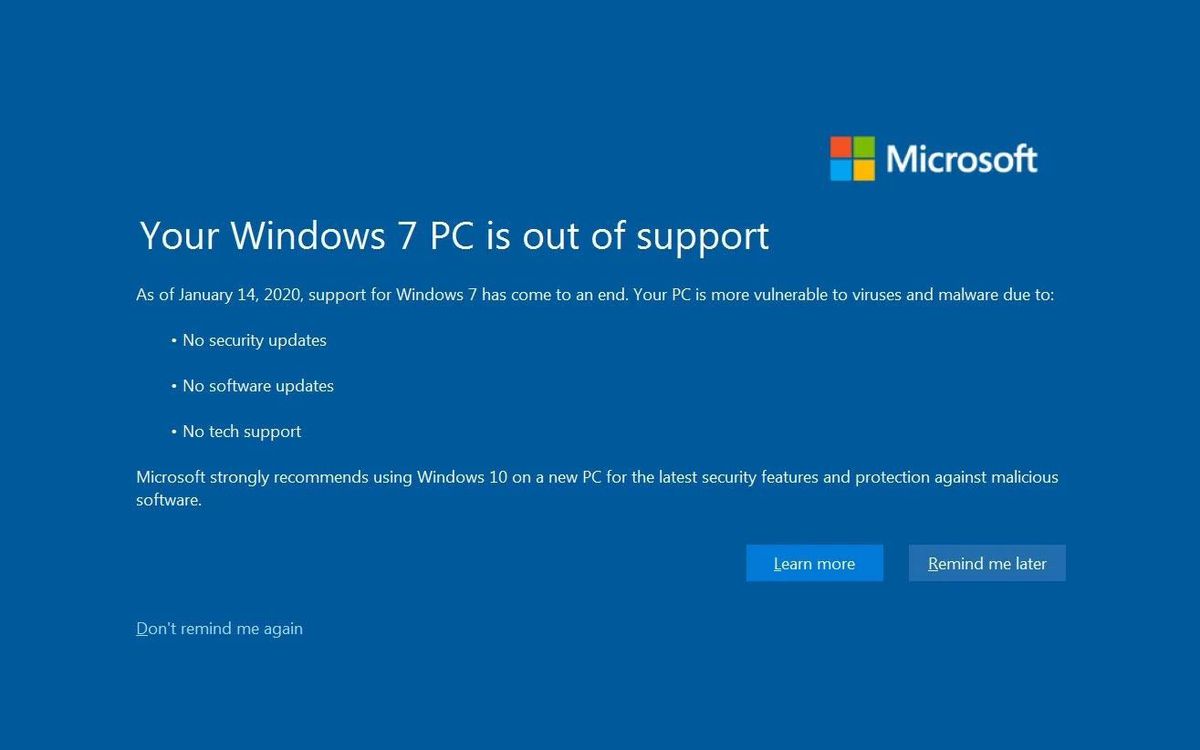
This makes it unsafe for users to use QuickBooks on these obsolete operating systems.
Hardware Requirements:
- Minimum processor speed should be 2.4 GHz.
- Intel processor, Core 2 Duo or higher for Mac systems.
- Minimum RAM required is 4 GB for a single user, whereas it is recommended to have 8 GB RAM to install QuickBooks on terminal server. RAM specifications required for multi-user systems are as follows:
1. For 1-5 users: 8 GB RAM
2. For 10 users: 12 GB RAM
3. Up to 15 users: 16 GB RAM
4. Up to 20 users: More than 20 GB RAM is required.
- 4 GB
RAM recommended for Mac users. - Minimum
2.5 GB empty space should be available; it is suggested to have at least 5 GB
empty space to accommodate data files. - For
Mac users, 250 MB empty space is required. - 4 GB
extra RAM would be required for Intuit Data Protect and twice the space of the
largest file size should be empty for back up. To restore the file, at least a
100 MB of space should be available. - 4X
DVD-ROM drive should be available to install the application through CD. - The
screen resolution should be 1280 x 1024 or higher. It should be best optimized
for default DPI settings.
How to Install QuickBooks Desktop on a Terminal Server
Follow these steps to install QuickBooks Desktop on a Terminal Server:
- You should log in to your computer as an admin to install the application.
- Turn the security settings of IE to Medium:

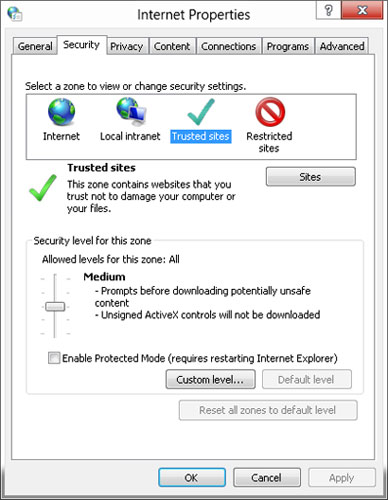
Follow these steps to turn the IE settings to medium
- Go
to the ‘Start’ menu and then click
on the ‘Control Panel’ option. - Reach
the ‘Administrative Tools’ section
and then go to the ‘Server Manager’
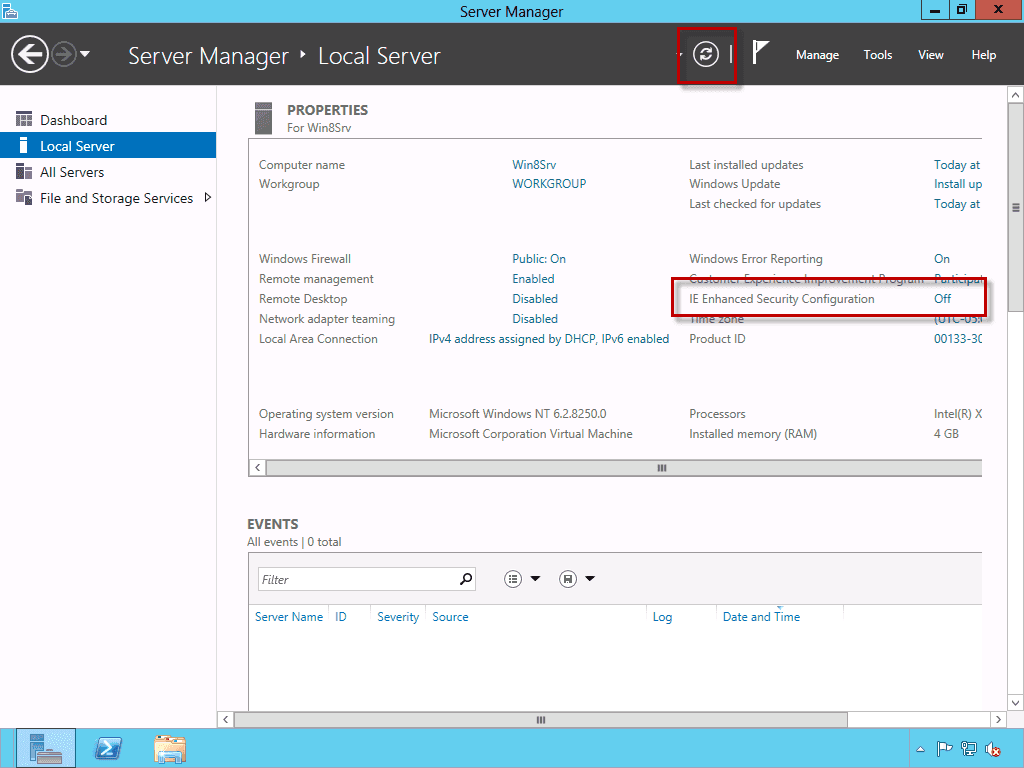
option. - Go
to the ‘Security information’
section and then click on the option saying ‘Configure IE ESC’. - If
the status is turned ON, then turn
it OFF.
- Press
the ‘OK’ button. - Turn
the Windows Firewall off.
Activating the Terminal Server Role
You have to activate the Terminal Server Role through the steps mentioned below:
- In the Server Manager section, go to the ‘Roles’ menu.
- Click on the ‘Add Roles’ option and then press the ‘Next’ key.

- Mark the ‘Terminal Services’ box as checked, and then follow the on-screen instructions to complete the process.

Installing the QuickBooks Application
Now let’s start installing the QuickBooks application. If you also have to keep the company file on the Terminal server, then install the Company File Server as well. Follow the steps:
- Close all the running application.
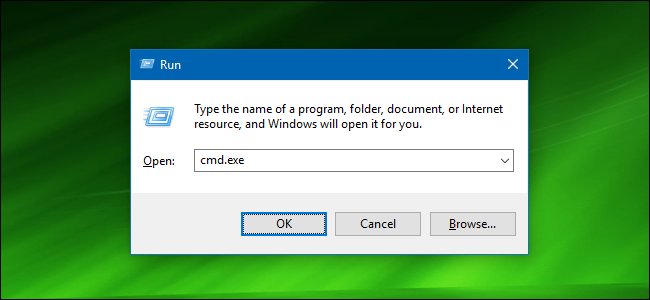
- Press the ‘Windows + R’ key simultaneously on your keyboard.

- Type “cmd.exe” and then press the ‘Enter’ key to open the command prompt.
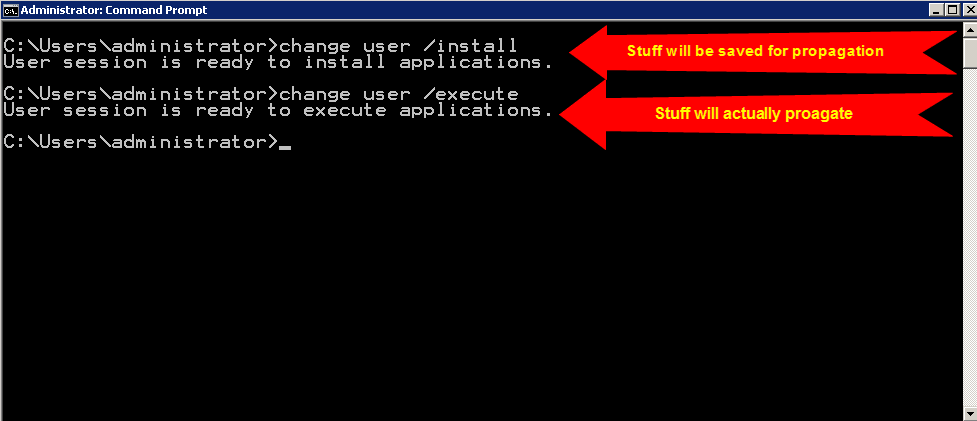
- To change the User mode, enter “change user/install” and then press the ‘Enter’ key.
- Go to the ‘Start’ menu of your computer.
- Open the ‘Control Panel’.
- Click on the ‘Install Application on Terminal Server’ option.

- You need to find the setup.exe file on the root directory of the installation computer to install it.
- You should not click on the ‘Finish’ button until the application gets installed.
- After completing the installation, open the command prompt again.
- Enter “change user/execute” and then press the ‘Enter’ key.

Windows Administrator Command Prompt

- Now
you should turn the Firewall ON and also add the QuickBooks executables
and ports.
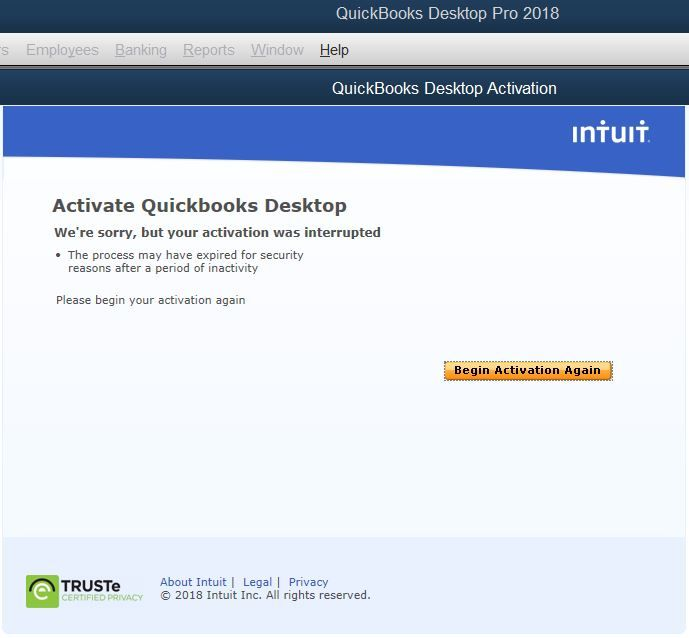
QuickBooks 2018 Terminal Server Activation
After installing the application on the terminal server, you need to activate it as well. The detailed steps have been provided below for you:
- You
need to stay logged in to the Windows Administrator account. - Open
your QuickBooks application. - You
should get a prompt to activate your QuickBooks. - If
you have not received the prompt, then you should go to the ‘Help’ menu. - Click
on the ‘Activate QuickBooks Desktop’
option.
- You
will need to verify your credentials to complete the process.
Whenever you reinstall your QuickBooks application or Repair it, you should activate it again through the process as stated above.
Support Limitation for Windows Terminal Server
There are certain support limitations for the windows terminal server. These have been mentioned below for you:
- Only
QuickBooks Enterprise Solutions provides live phone support for terminal
services users. - Support
is not provided for setting up, configuring, or enabling terminal services. - Users
are not provided support for slow performance issues or user permissions. - Terminal
server connection issues are not supported as well
How to Set Administrator Rights for Terminal Server QuickBooks
The administrator rights are required to install terminal server QuickBooks. It can be assigned easily through the following steps:
- For Windows 10 Users
- Go
to ‘Settings’ and then go to the ‘Accounts’ option. - Click
on the ‘Family & other users’
option. - Click
on the ‘Change Account Type’ option
and then select the ‘Account owner’. - Go
to ‘Account Type’, select ‘Administrator’ from the options and
then press the ‘OK’ button. - Sign
in with the new administrator account.
- For Windows 8.1 Users
- Open
the ‘Control Panel’ through the ‘Start’ menu of your computer. - Select
the ‘User Accounts and Family Safety’
option, and then click on the ‘User
Accounts’.

- Click
on the ‘Manage another account’
option and provide your login credentials. - Select
the ‘Create a new account’ option. - Enter
a name, click on ‘Account Type’ and
then click on the ‘Create Account’
button.
You may also read: How to Import More than 90 Days of Bank Transactions in QuickBooks Online
Through this article, we explained you the detailed procedure to install QuickBooks on a Terminal Server. You should be able to install QuickBooks easily through the steps mentioned above. If you struggle to perform the steps and you need help from an expert to resolve it, then contact ProAdvisor Solutions’ Helpdesk at 1.855.888.3080.

Erica Watson is writing about accounting and bookkeeping for over 7+ years, making even the difficult technical topics easy to understand. She is skilled at creating content about popular accounting and tax softwares such as QuickBooks, Sage, Xero, Quicken, etc. Erica’s knowledge of such softwares allows her to create articles and guides that are both informative and easy to follow. Her writing builds trust with readers, thanks to her ability to explain things clearly while showing a real understanding of the industry.